
Bead-on-a-String Quilt Block Pattern
Here's how I approached making my blocks.
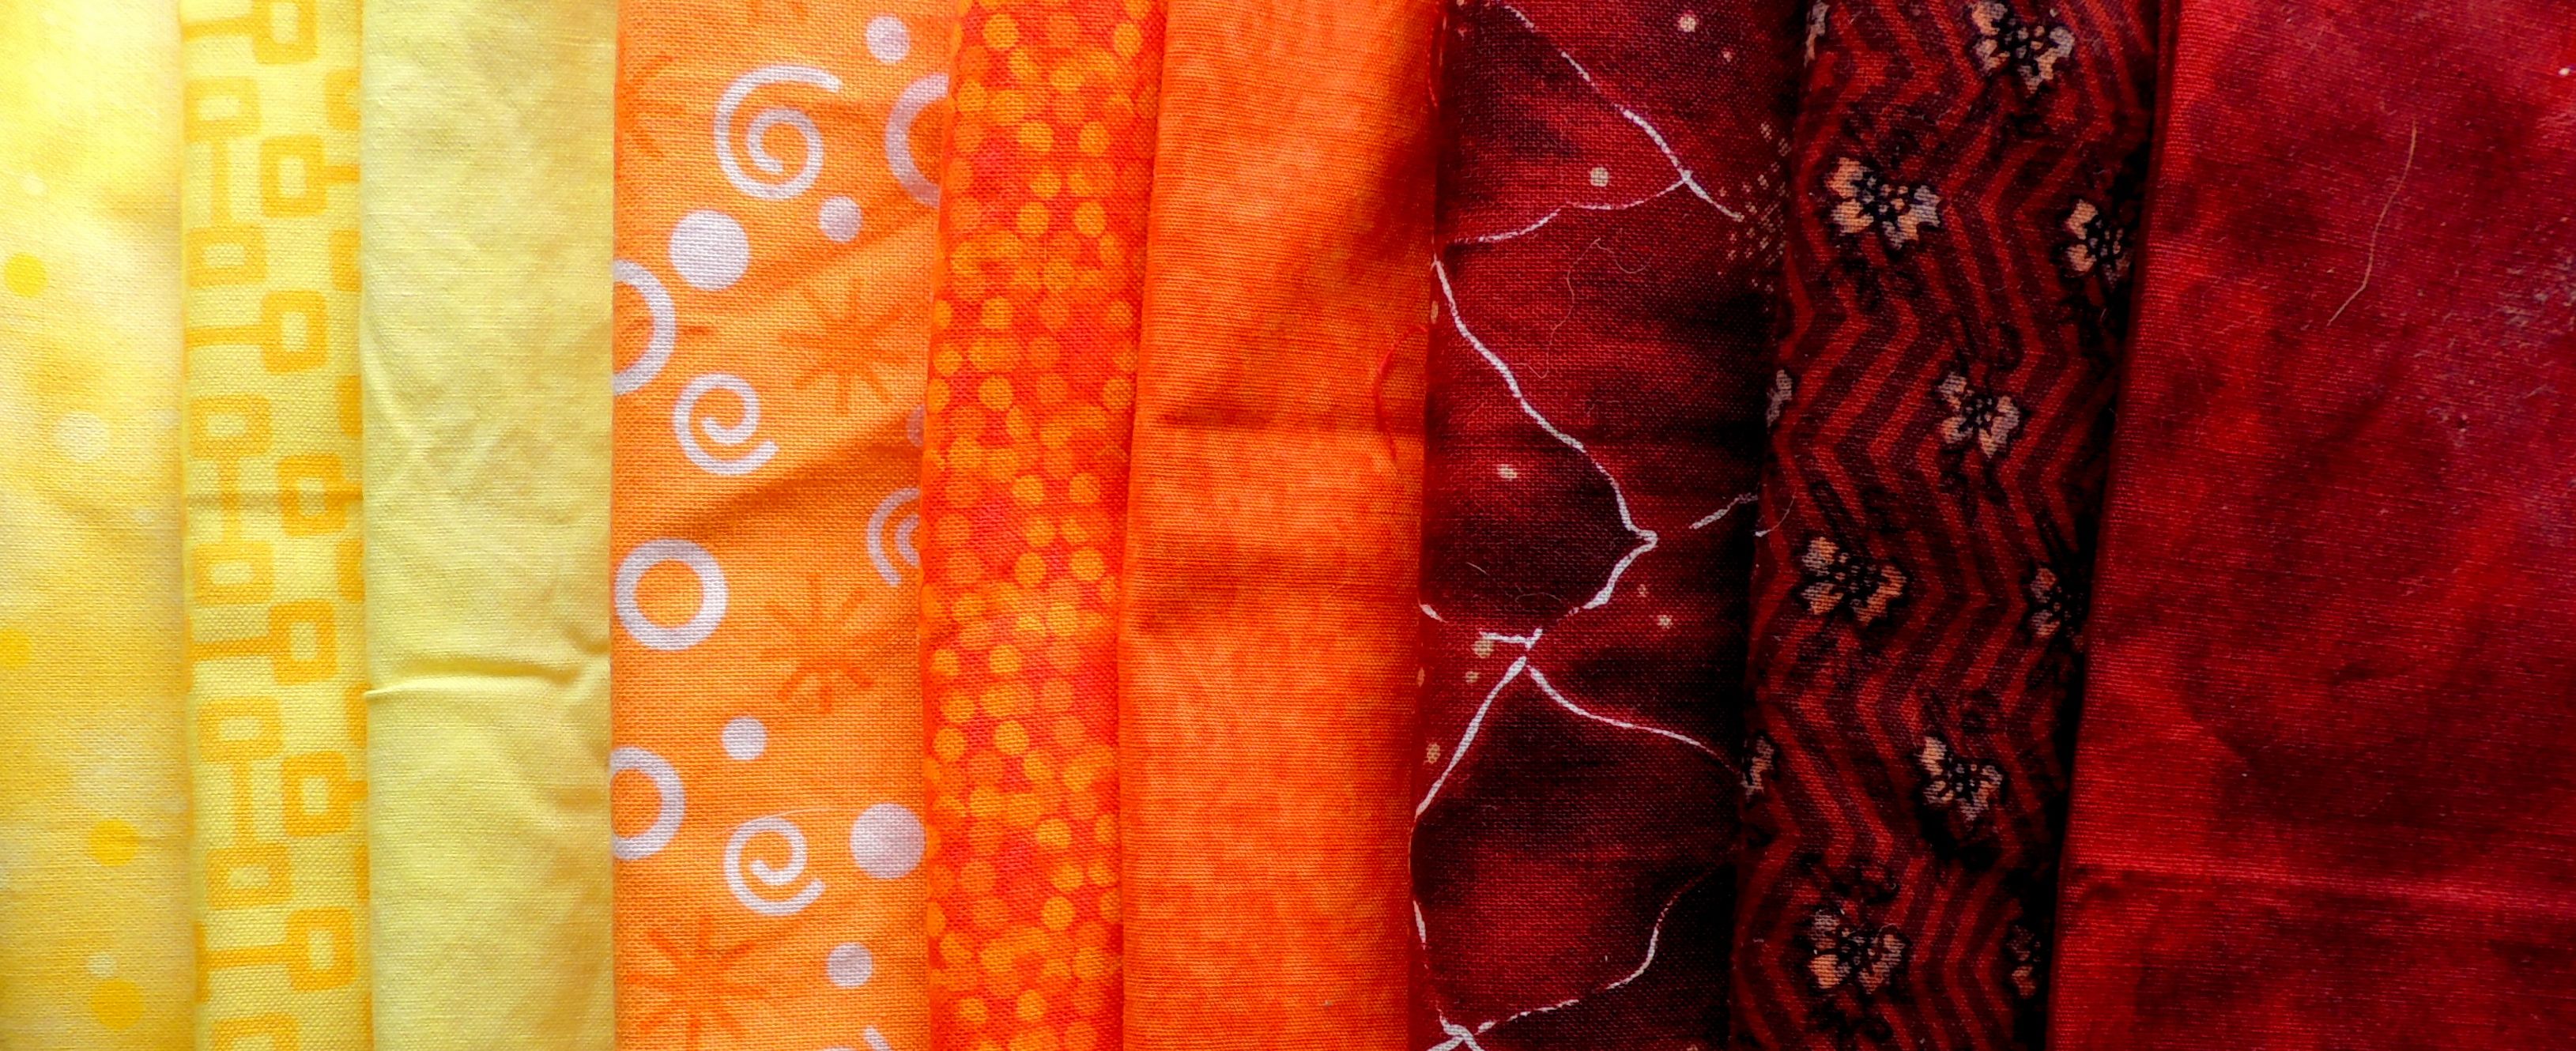
The color way for this month was suggested by Debbie: yellow, orange, maroon, black and white. I started by looking in my stash for some yellow, orange and maroon fabrics that I thought would work for the beads.
I printed the circle template on the second page of the block directions (on purple paper), glued it to some lightweight cardboard and cut out the circle shape to create the template I used to prepare the circle appliqué.
Using my template, I traced the circle on the wrong side of one of the bead fabrics, then cut the fabric, adding a generous 1/4-inch seam allowance. Once I cut the first circle, I used the cut fabric as a guide for cutting more.
Using a needle and thread, make a running stitch around the edge of the cut circles. Place the fabric right side down, lay the template inside the circle and pull the thread tight to create a perfect circle appliqué with a turned under edge.
Take the circle appliqué with the template inside to the ironing board and press the edges so they will stay in place when, after it's cooled, you remove the template and have a perfect circle ready to stitch in place.

3. stitch a running stitch around the outside edge, 4. pull running stitch tightly around template and press
To make each block a unique combination of yellow, orange and maroon fabrics, I made them three at a time.
Once the circles are prepared, I found matching thread to use for the machine appliqué.
The white background squares are cut slightly oversized because sometimes appliqué can pull the block in slightly making it smaller.
I folded the circles evenly in quarters and finger pressed the creases. I did the same with the background squares. Using these creases, it was easy to line them up and center the circle on the background square.
I used a buttonhole stitch to appliqué the circles to the background. As you sew and pivot around the circle, it's important to remember to stop and pivot when the needle is "outside" the circle and in the background.
After the appliqué is finished, the block is squared up and trimmed to 7 1/2 inches. I could still see the crossed creases in my circle, which made it easy to keep the circle centered in the block–the center will be 3 3/4 inches from the edge in the trimmed block.

To assemble the block, cut them in half, rearrange the halves and insert the long black rectangle to form the string. I found it easiest to cut away the background behind the bead after the block was cut in half.

1. Slice circle appliqué in half, 2. Cut away background, 3. Laying out the Bead block
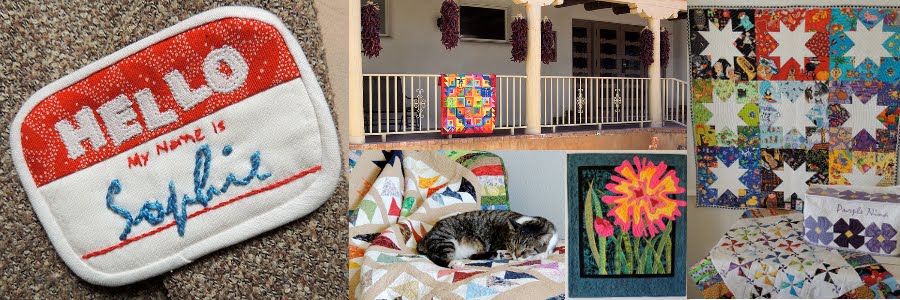
My three finished blocks are at the top of the post. To see more examples, check out virtual quilt in this post on the Block Lotto.
3 comments:
Different sort of block for this month! This shape will work nicely with the angles of January's block.
ooh Sophie-this is fabulous! Thanks for the great directions! i will be trying this one for sure! Very cool and different!
Great blocks xx
Post a Comment